


Removing the Z31 Rubber Side Molding
As many early Z31 owners have noticed, the thick side molding dates the body. Removing it was part of my ZX's updated look, and on the '84 and '85 cars it's held on with 3M adhesive tape only.
The catch: the paint under the molding has usually faded differently from the rest of the car, so you may end up with a stripe of a different shade. If you're painting the car anyway, that's not a problem.
At a Glance
- 1984-85
- Molding is held on by adhesive tape only, so nothing to fill afterward
- 1986
- Also has trim clip holes in the rear quarter panels that need filling
- Paint
- Expect a color difference under the molding unless you repaint
Tools
- Phillips screwdriver
- Gasket scraper or putty knife, wrapped in masking tape
- Plastic putty knife (if you're keeping the paint)
- Razor blade scraper (only if you're repainting)
- Heat gun
- Mineral spirits or an adhesive remover such as Goo Gone, and clean rags
The Process
1. Remove the marker lamps
On 1984-86 models the side marker lamps are held in with stainless Phillips screws. Take them out first.

2. Pry the molding off
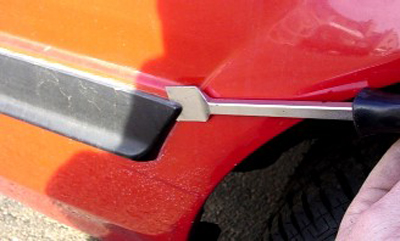
Work a gasket scraper or putty knife behind the end of the molding and pry it gently away from the body. Wrap the blade in masking tape so it can't scratch the paint. Parking the car in the sun first softens the tape and makes this much easier.
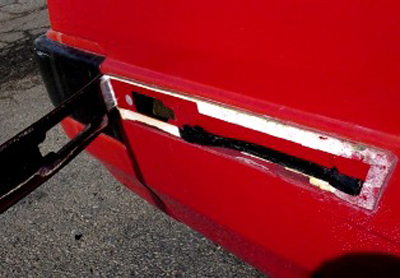
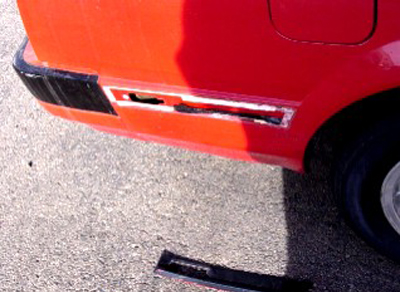
Once an end is loose, keep levering and peeling the molding off along its length.


3. Remove the old adhesive
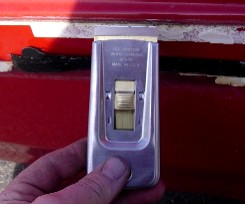
Most of the old tape stays on the car. If you're repainting, a razor blade scraper takes it off quickly. If you're keeping the paint, skip metal scrapers: warm the tape with a heat gun and push it off with a plastic putty knife.

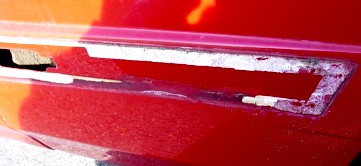
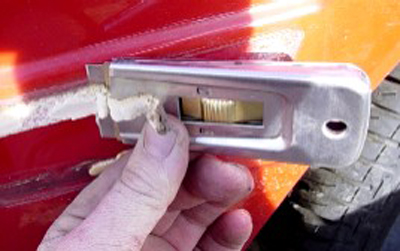
4. Clean off the residue
For the last bits of residue, soften it with the heat gun and wipe it off with mineral spirits or an adhesive remover.
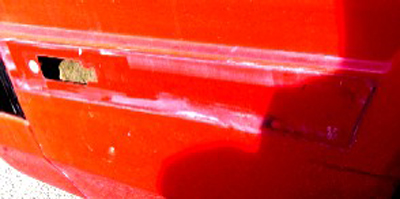

5. 1986 models: fill the trim holes
On '86 models, removing the molding leaves trim holes in the rear quarter panels. Fill and refinish these.

The Result
Note the color difference where the molding was. On this car it's from an old respray, but heavy sun fade can cause just as big a difference.

Credits
- Written by Raredare
- 1986 trim clip hole photo: Joseph Melnick (Xenon)