


Z31 Surface and Perforated Rust Repair
If you've found surface rust, typically, you'll also find perforated rust; just start looking. These are some of the places I've found both surface and perforated rust on my 84 Turbo; I would check out all of these places and fix any problems, now, before they become big problems.
*WARNING* - Do this diagnosis/mods at your own risk. We Are not responsable for any issues of your own doing.
Where to look for rust
-
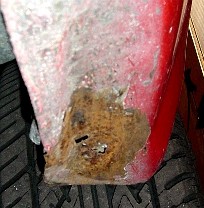
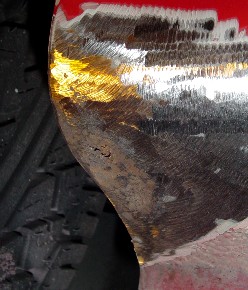
Rear quarter panels:
Check both in front of and behind the wheel wells, where the well meets the body. Dust and water often accumulate here, especially from leaky tail lights or quarter windows.
Tip: Remove the interior trim and Shop-Vac any dust. The factory sound-deadening jute can hold moisture and worsen rust. -
Rear quarter panel rust, behind wheel:
-
Rear quarter panel rust, in front of wheel:
- Below the rear bumper cover: Especially just behind the rear wheels—mud and water collect here, leading to rust.
- Bottom of the front fenders: Where the fender meets the door sill, debris from the cowl collects and moisture causes rust.
- Door sills: Ground effects trap dirt and moisture here—inspect thoroughly for corrosion.
-
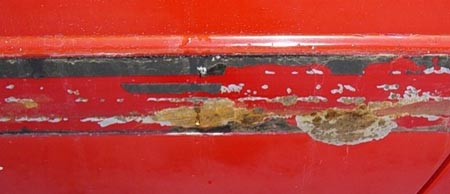
Beneath side molding (84-85 models):
Dirt and water often hide rust under the molding.
-
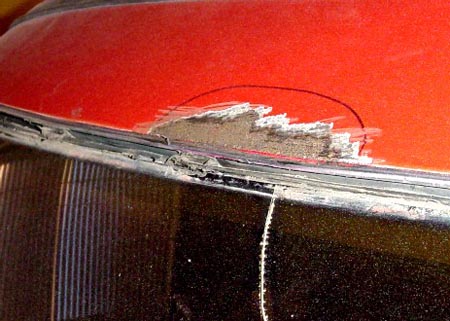
Around the windshield frame:
Poor windshield installation can cause leaks and rust at the roof's leading edge.
-
Beneath the tool kit:
Leaks wick moisture into the spongy tool kit, causing hidden rust.
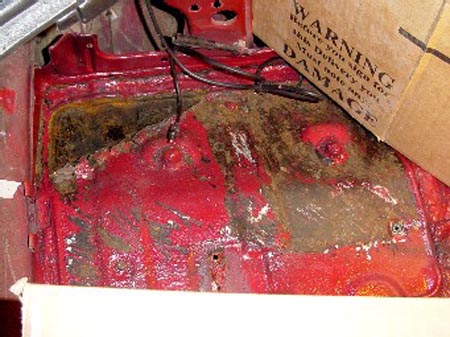
- Spare tire well: Moisture from leaky tail lights or windows can pool and cause rust or holes here.
- Under the rear hatch rubber weatherstripping: Pull up the weatherstrip and check the lip for rust—repair as needed before it spreads.
- Floorboards: Inspect under the metal plates. Remove the rear subframe front mounting brackets and check for hidden rust, often caused by leaky T-tops.
Removing surface rust
For rust removal, I used a 4 1/2" angle grinder from Harbor Freight. Despite the reputation, mine cost $17.99 and has worked hard for over a year! I use a 36 grit disc to remove paint and surface rust—just be careful not to overheat or gouge the metal.
After grinding, use a pneumatic orbital sander with 80 grit paper to smooth the area for primer adhesion. Sand until there are no edges or ridges. Once smooth, prime the area with etching primer. If you plan to repaint with pro-grade paint, get professional etching primer from an auto paint supplier.
- Let etching primer cure for 30–60 minutes (depends on humidity).
- Follow with high-build filler primer to fill grind marks. Let cure 120 minutes.
- Sand with 320 grit wet-or-dry sandpaper to blend into the surrounding paint.
- Repeat primer and sanding cycles until smooth to the touch, finishing with 400 grit paper. Mist with water and check reflections for a seamless finish.
- Final blend with 600 grit wet-or-dry before paint.
Repairing Perforated Rust
As with surface rust, grind away all paint and rust. For perforated rust (holes), carefully cut out the entire affected area with a cutting wheel or tin snips. Use the removed piece as a template.
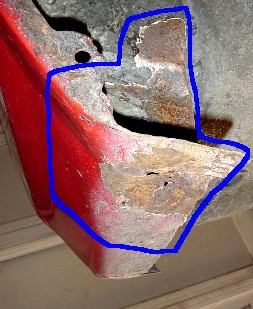
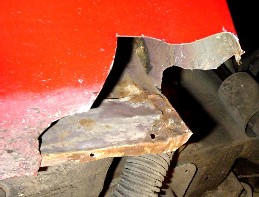
Buy a sheet of 22 gauge mild steel (e.g., 24"x24"). Cut your patch about 1/2" larger on all sides, and carefully shape it to match the contours of the original. A small anvil and body hammer help a lot here.
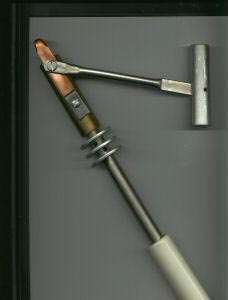
Place the patch behind the opening. Use vise grips or a welding magnet to hold it. A basic Lincoln Weld-Pack 100 flux-core welder works well. Use tack welds to minimize heat and prevent warping—overlap the tacks to make a continuous seam.
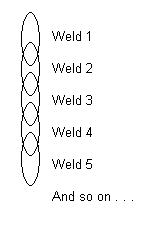 Overlap tack welds for a strong, warp-free seam.
After welding, coat the back of the repair with seam sealer (3M brushable works great) for waterproofing. Inside the panel and under the car, use rubberized undercoating for weatherproofing and noise reduction.
For more complex repairs (like a rear quarter), you may need to rebuild in stages: inner skin, structure, and outer skin.
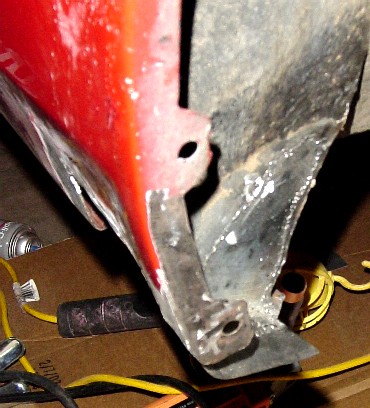
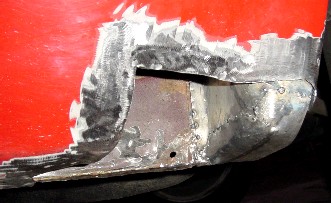
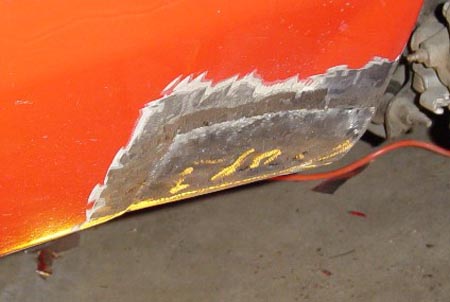
Grind welds smooth. Use a body hammer and dolly to finish the shape if needed. Prime with etching primer and let cure. Apply plastic filler in layers, sanding between each with 220–400 grit wet-or-dry until you can't feel the patch.
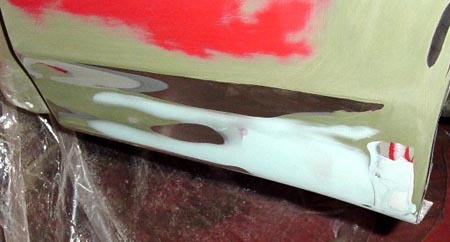
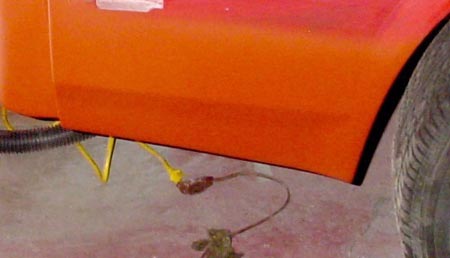
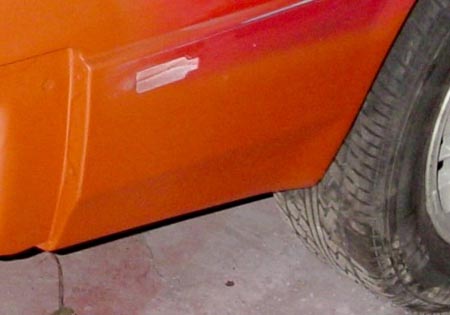
When satisfied, blend with primer and sand with 320–600 grit as you approach final paint. Always check your work by running your hand across the repair and sighting along the panel in good lighting.
Special Considerations
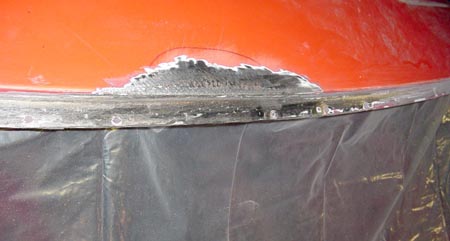
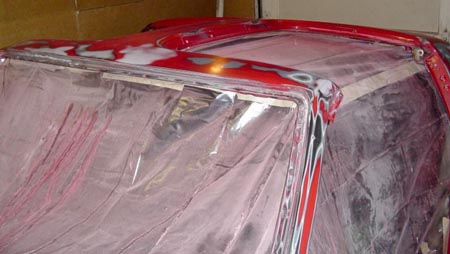
Windshield Frame Rust Repair
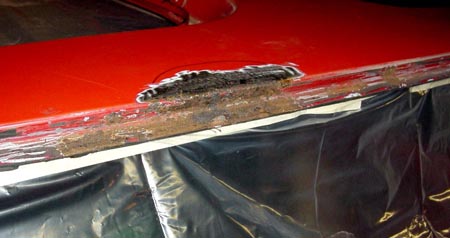
Remove the windshield with a specialized tool. Mask off the interior to protect from sparks and debris. Grind out any rust, cut out perforated areas, patch, and weld as above. Always finish with filler, primer, and sealer.
Floorboard Rust Repair
Inspect under metal floor plates and subframe mounts for corrosion, often from leaky T-tops. Remove rusted sections, shape a patch, and weld it in place. Take care near fuel lines!
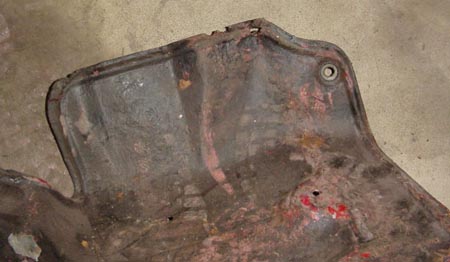
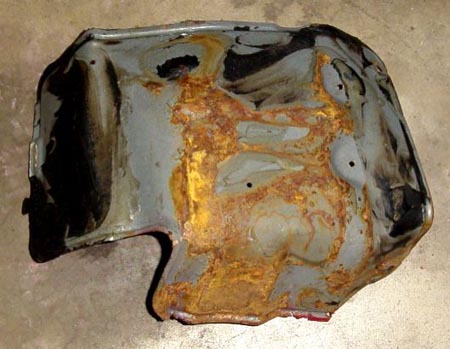
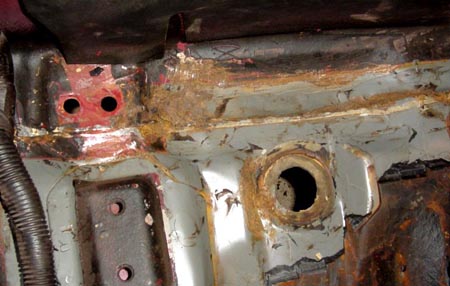
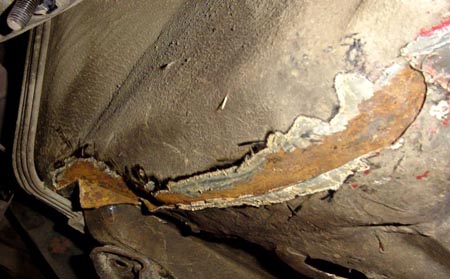
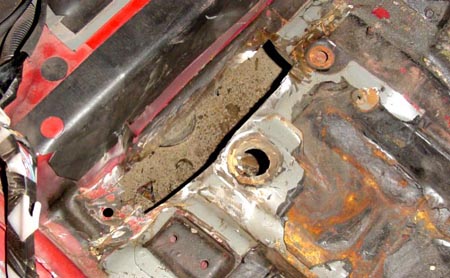
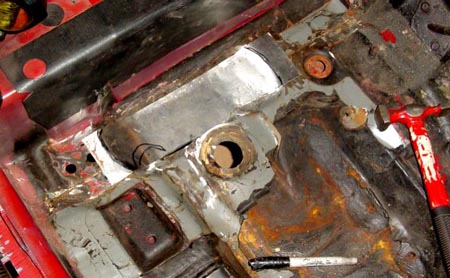
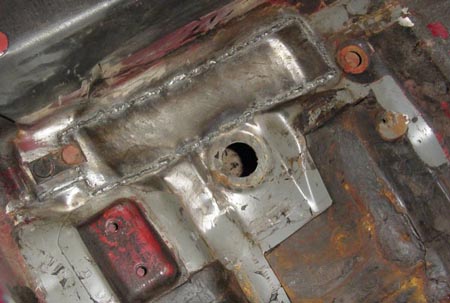
Finish with zinc primer and 3M seam sealer on all welds. Undercoat for long-term protection.
Sources Used
- 1984-1988 Nissan 300ZX Factory Service Manual
- Writen by: Redare