
XenonZcar.com - Z31 Repairing the hatch seal that leaks
Re-sealing Rear Hatch
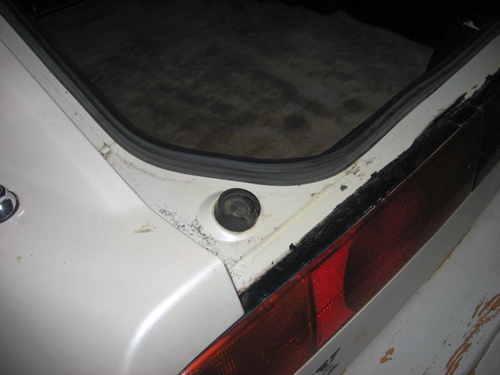
Another major cause of rust in the hatch area of many 300zx's is the rear hatch seal being worn out and torn. The seal is a foam rubber seal with a metal core strip. From the many years of the heavy hatch sitting on top of the seal, it compresses and does not protect the lip from water. Here are a few tips on how to replace the seal.
Checking for leaks
To verify that hatch seal is the cause of the leak, remove the rear interior plastics along the tail lamp panel and on the hatch and lay in the back of the hatch area.? Have someone spray the roof, hatch area and tail lamps, near their top surfaces.? If you observe any water leaking into the car or any light between the seal and the hatch, replace the failed seal.
Obtaining the seal
The rear hatch seal can be found New at your local Nissan dealer at the regular Dealer prices (Part Number 90830-01P00 or 90830-01P10) , or you can substitute the Nissan seal for a used Mazda MPV rear door seal from years 1989 to 1999 found at your local junkyard. This is the first generation MPV Van. The Mazda Part number is mazda part LA0162761A if you want to buy it new. They run about $125USD. Here is an image of the cross sections.
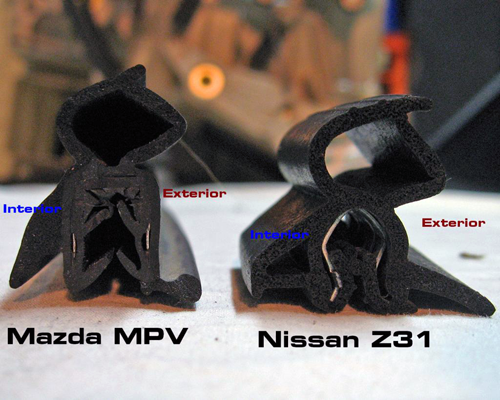
The Mazda seal Even being used will likely be in better shape than your current one because of the design of the door of the MPV being vertical so the seal does not get the amount of pressure on it to crush the seal.
Replacement
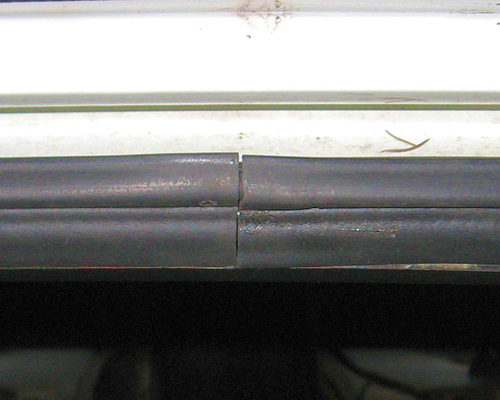
- Open the hatch and pull off your old hatch seal, it is just pressed onto the lip.
- If you are using the Mazda MPV seal, measure the length of the seal and trim the MPV seal to length.
- Install the new seal starting from the bottom center and work your way around the hatch.
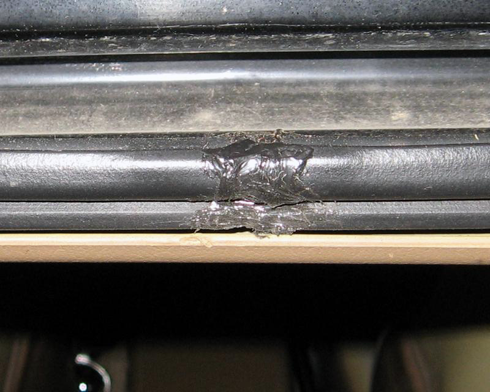
- Seal the two ends together with some window weld sealant and let cure.
Sources used on this page:
- Images and information on the Mazda MPV seal by: Z-Karma